Lumetallix - Finding LEAD under layers of paint.
This technique quickly reveals whether lead paint is hiding under the layers.
Lumetallix - Finding LEAD under layers of paint
Warning: Scoring the surface with a utility knife will damage the surface. Make sure you have all the proper permissions before using this technique.
This technique quickly reveals whether lead paint is hiding under the layers.
Start by taping a Ziploc bag under the testing area to collect the paint chips cut away.
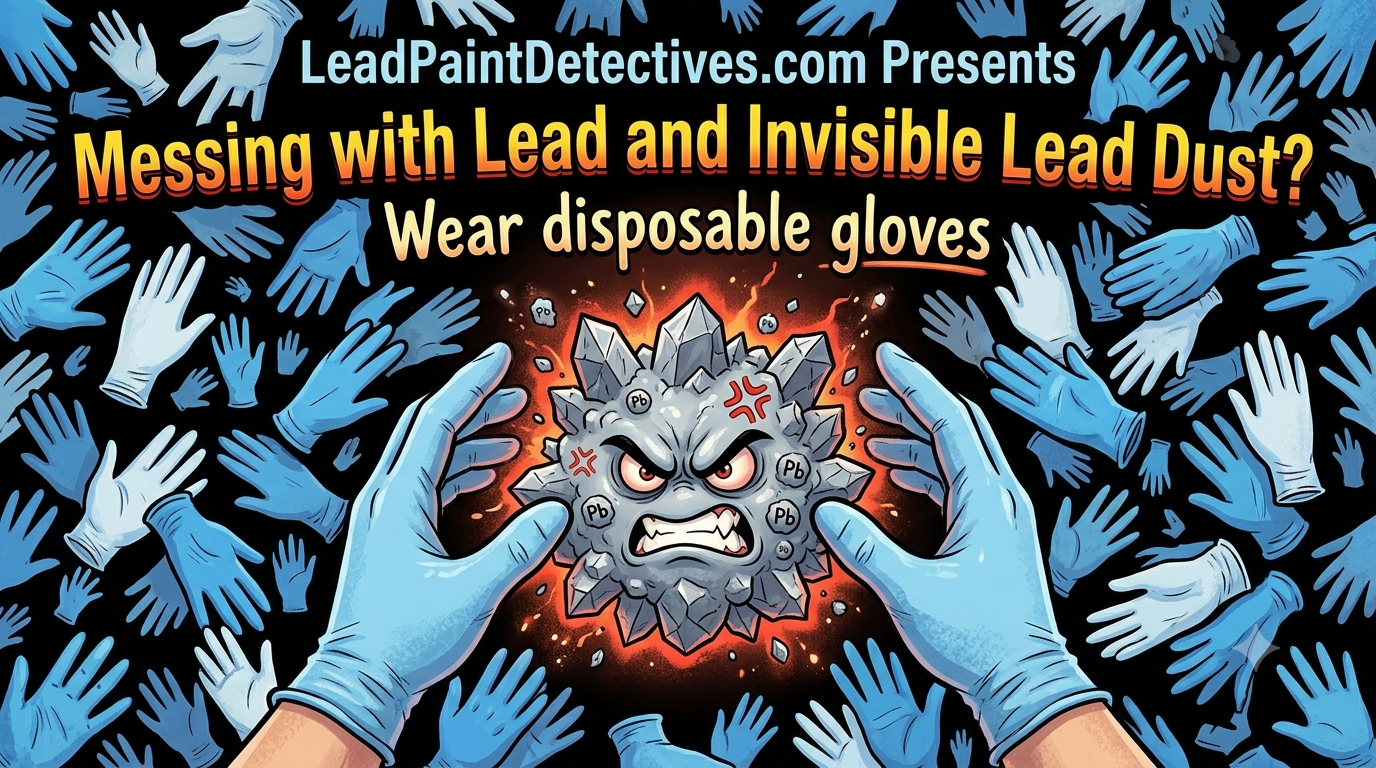
What am I doing wrong? Well, if you think you're messing with lead, wear disposable gloves.
I’m going to show two examples of the same method.
1. Using your utility knife, score an “X” into the surface.
2. Again, score the “X” that was just cut, but this time cut at an angle to expose all the layers of paint.
3. Cut through all layers of paint.
I followed the same procedure in Example 2.
1. Score the “X”.
2. Again, score the “X”, this time on an angle, and make sure you cut through all the paint layers.
Now it’s time for the fun stuff!!!
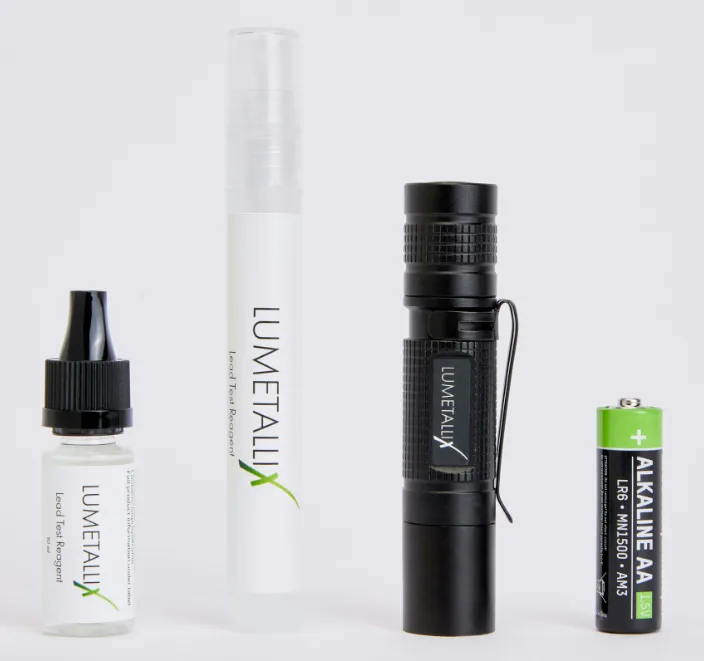
With Example 1, I’m going to use the drip bottle.
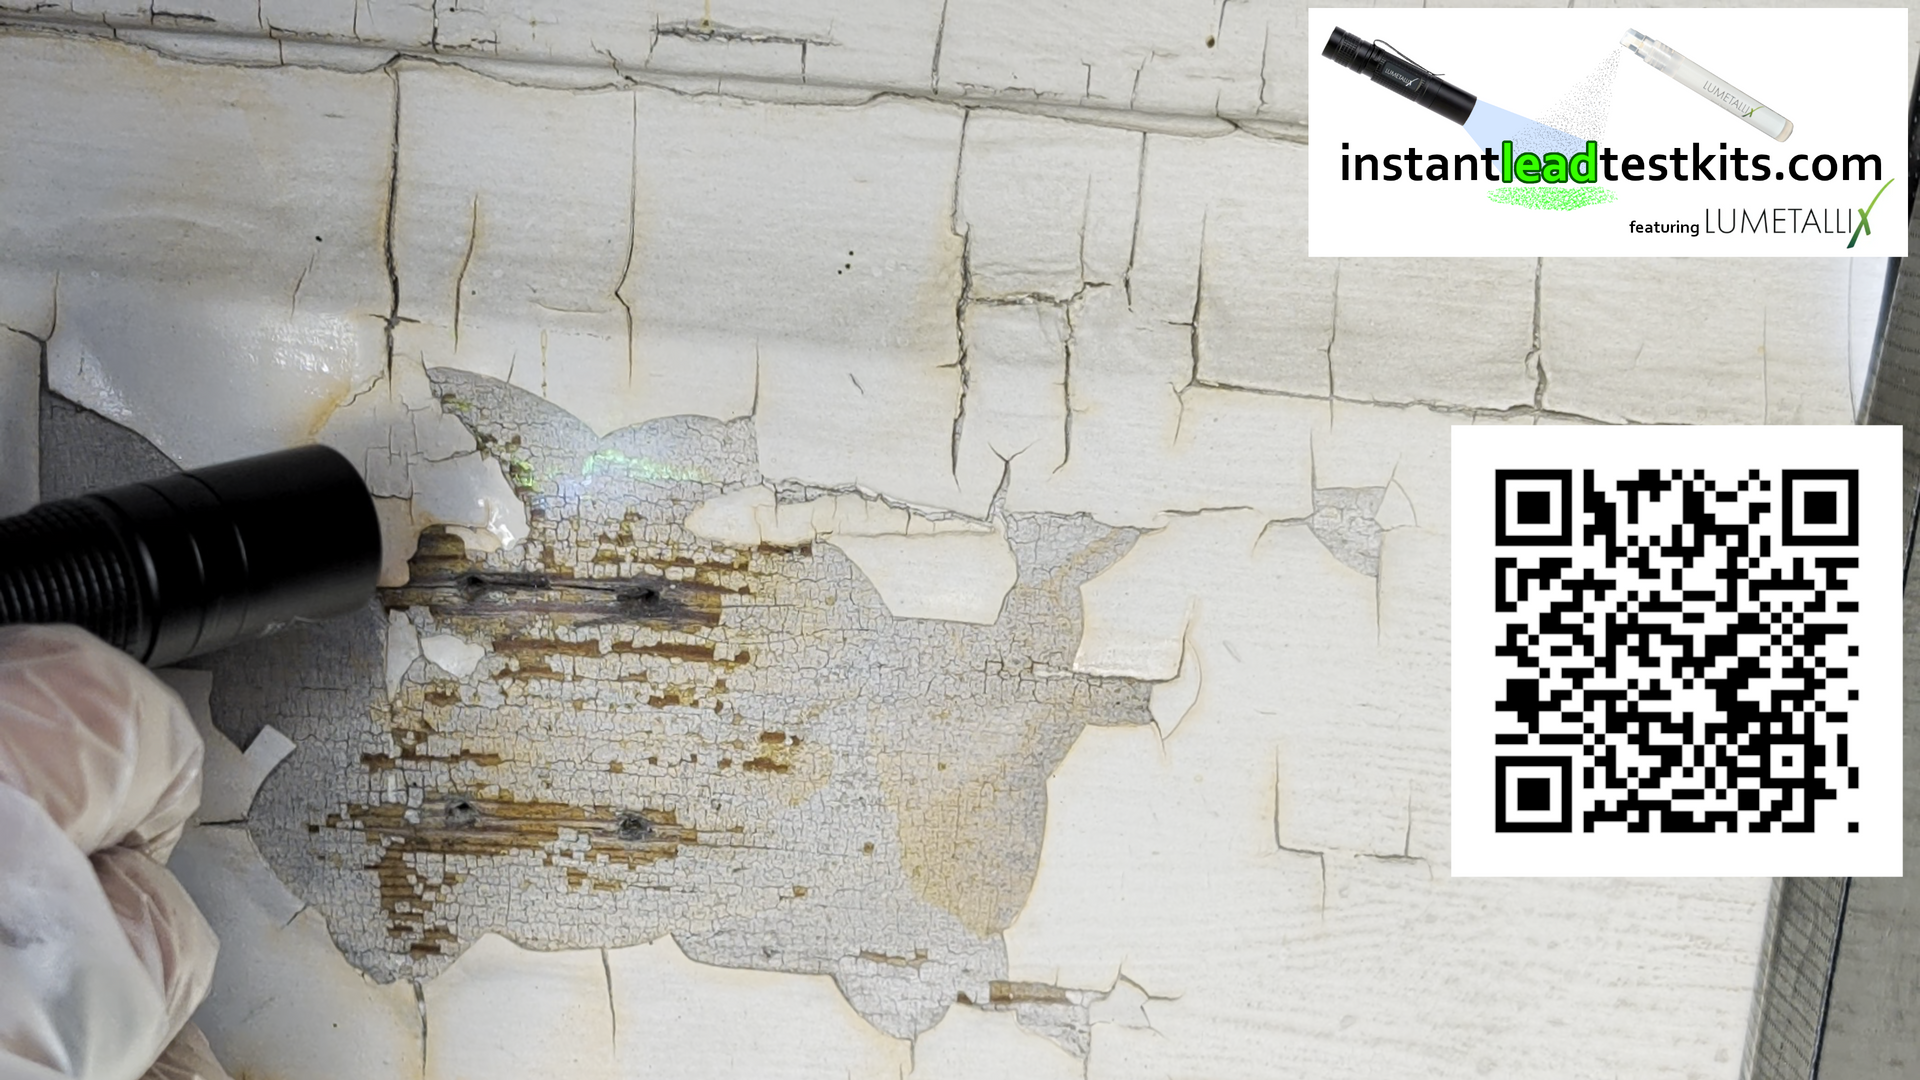
First, shine the UV light and see if there’s a reaction. Other colors: red, yellow, and blue… That doesn’t count. It’s not NEON GREEN.
Here’s a close-up, and yes, there’s green, but it’s hard to see in the video.
Thus, two examples…
With Example 2, I use the Lumetallix Reagent Spray.
I start the same… First, shine the UV light over the testing area, and there’s no reaction. Then spray Lumetallix and shine the UV light over the testing area.
With Example 2, there’s NEON GREEN on the outside paint. I actually didn’t need to cut the surface at all.
More videos and examples of using Lumetallix coming soon…
Like, what did I do with the plastic bags with lead paint chips in them?